Programming (Flashing)
- Connect USB programmer bracket
UART communication
Verify firmware package (version V1.20, checksum, release status)
- Programming sequence:
Web flashtool
USB-Connection
Erase → Program → Verify → Set option bytes/fuses → load defaults (Complete automatic sequence)
Save log with SN, FW version, timestamp (Form E1, CSV export)
- On failure:
Three retry permitted
Otherwise NCR and analysis
Web Flashtool
The Web Flash Tool allows you to transfer the firmware for the Yachta PCB to the device using a web browser via a USB connection. To do this, connect the to the programming adapter and a PC or laptop via the USB-C port and launch the Chrome or Edge web browser. The USB-C cable can only be used to transfer the firmware. Operating the device via USB is not possible.
Note
Web browsers other than Chrome or Edge are not currently supported because the functionality for accessing a serial port is not implemented in other web browsers.
Warning
Please note that the web flash tool can only be used with an Yachta PCB V2.1. If you use other hardware, you must use a customized firmware version for the hardware.
Euipment
Yachta PCB V2.1
Power supplay 12V
- Provided by Open Boat Projects
USB cable
Programming adapter
WiFi router
PC mit Chrome browser (Win / Linux / Mac)
Actual Chrome web browser on PC
Test conditions
Successfully completed basic test with PCB in test circuit
- WiFi-Router connected with a Ethernet cable to PC
- WiFi 2.4 GHz
Setup SSID: MyBoat
- Setup WiFi assword: S6587rr94P
WiFi Network IP: 192.168.20.X
Router IP: 192.168.20.1
User: admin
Pass: admin123468#!
PC connected to any LAN ports
Internet connectet to WAN port
WAN port has automatic DHCP
Same elektrical conditions as before
Set power source 12V
Flash procedure
1. Power source off
2. Insert Yachta PCB in progamming adapter
- 3. Hold down the flash button on the programming adapter and power on with the white button
I approx. 18 mA
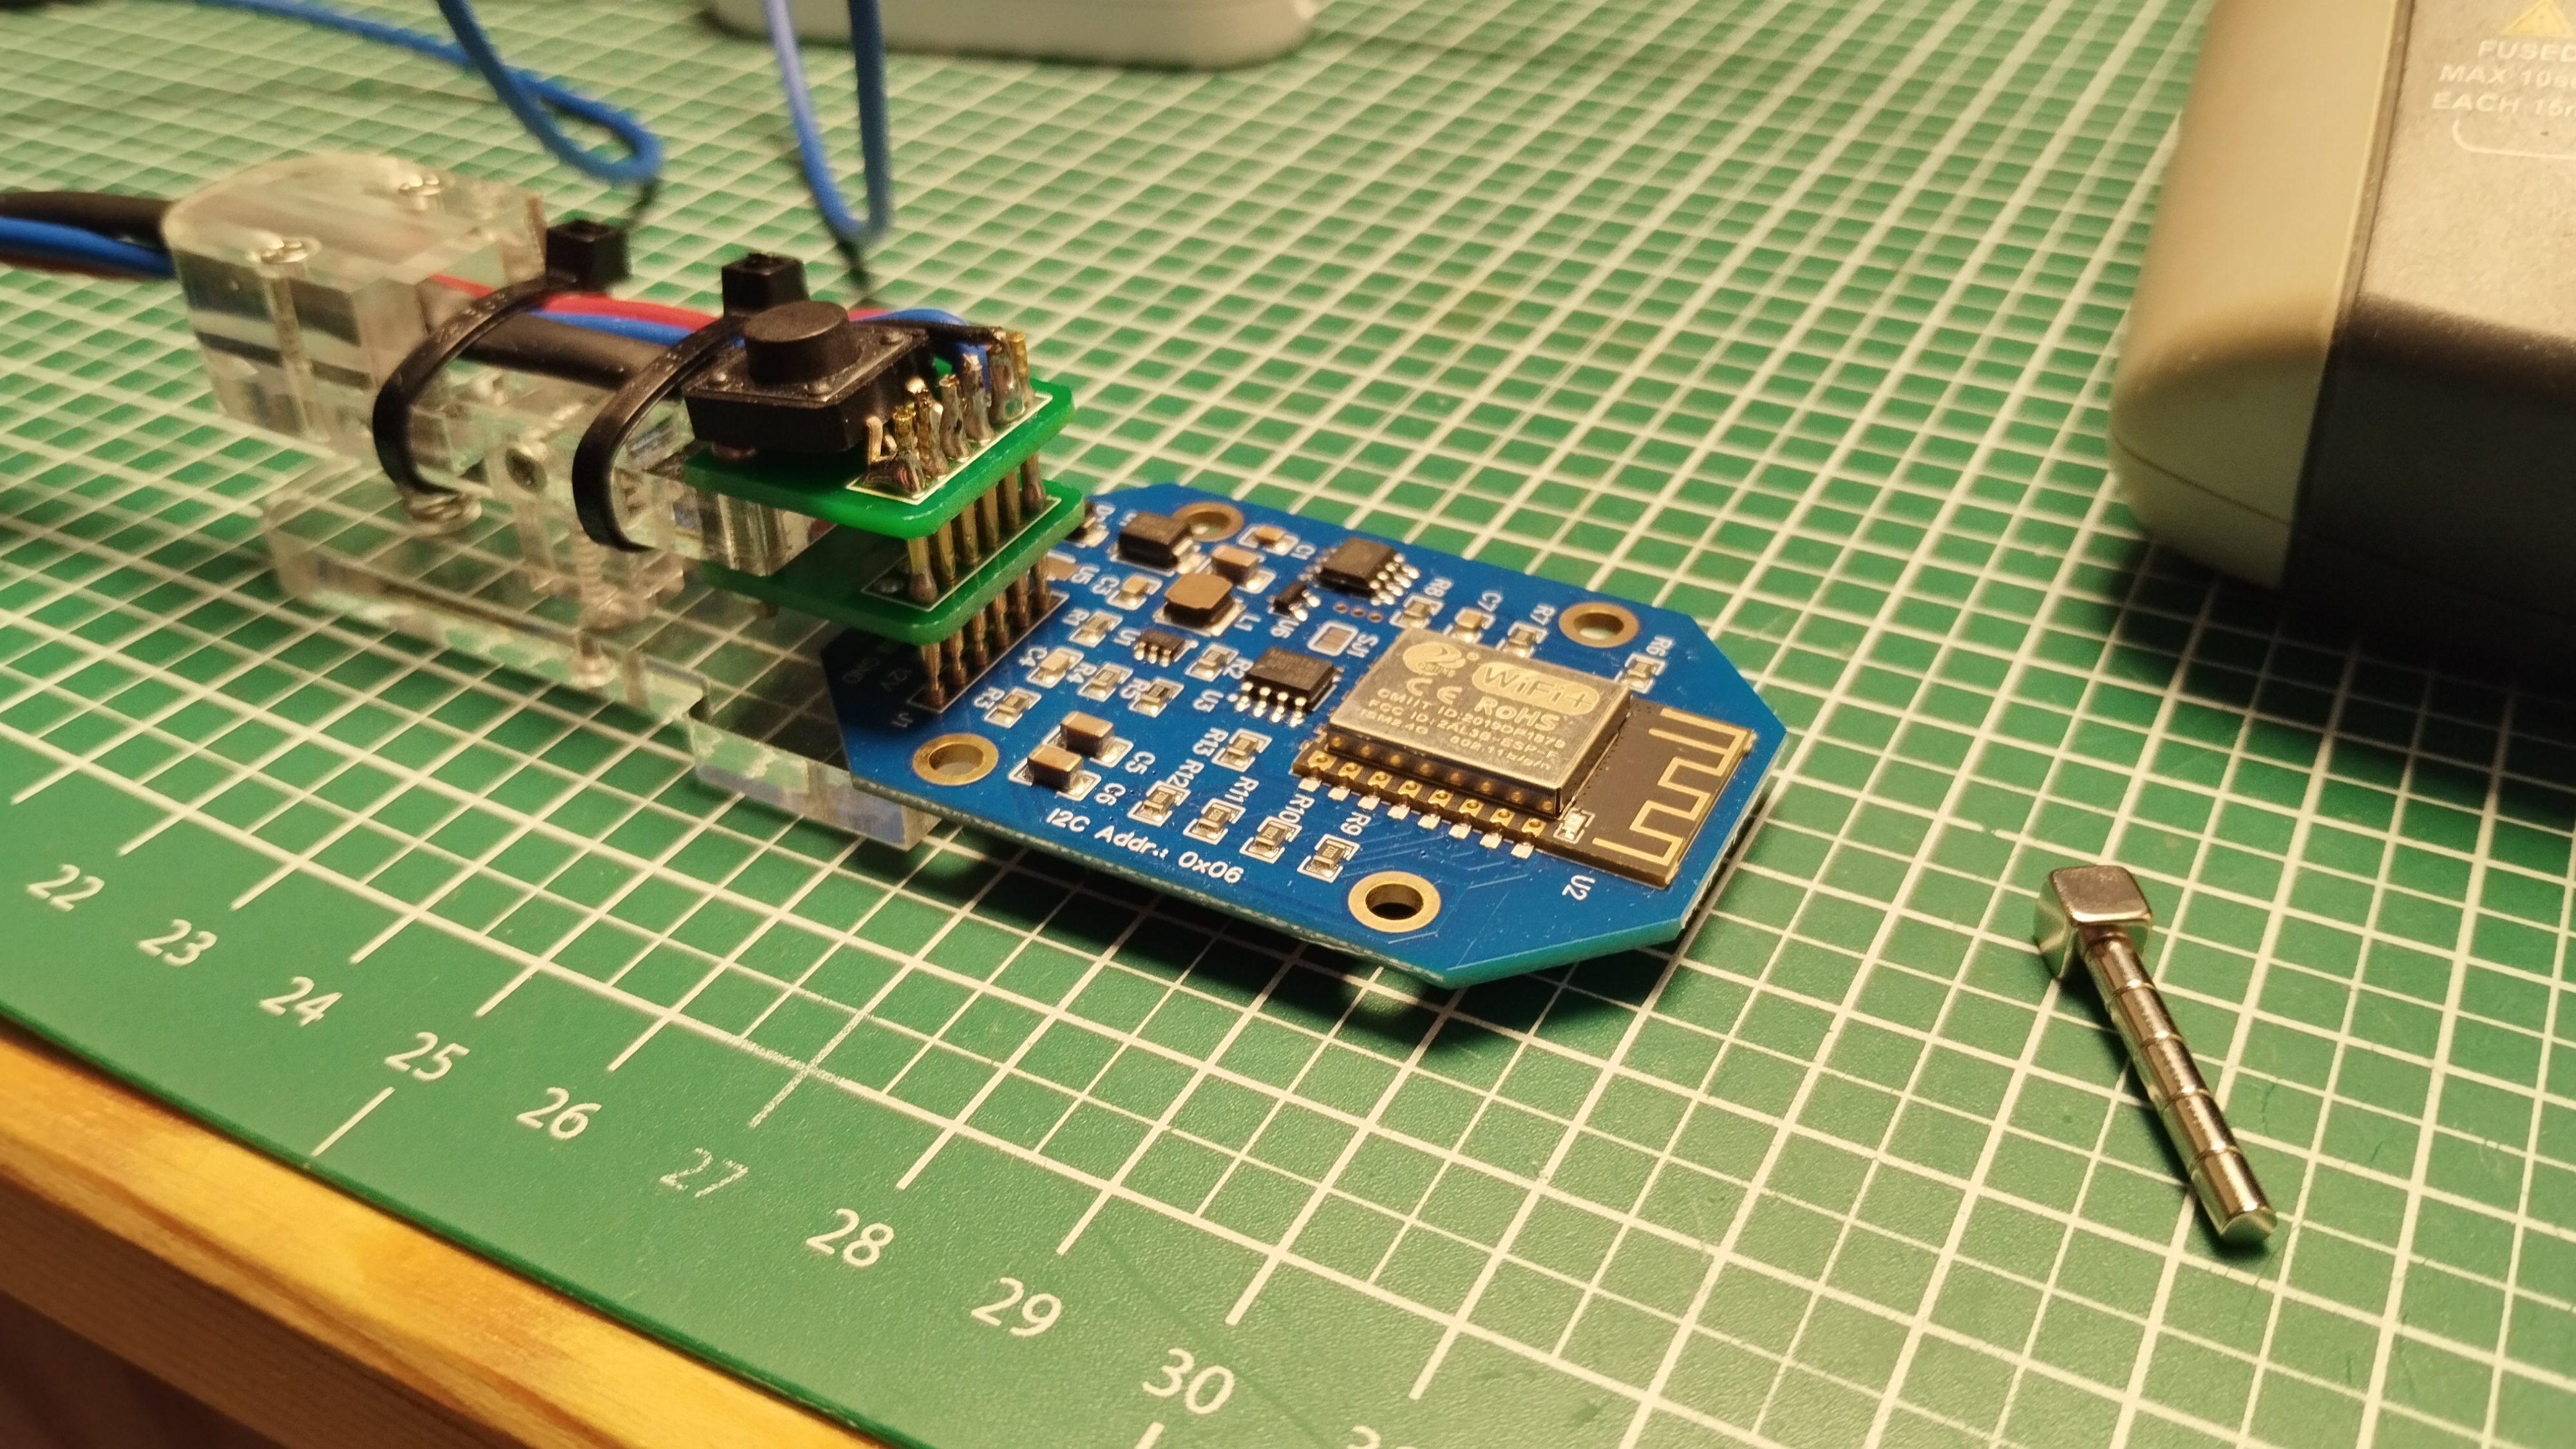
Fig.: Test adapter
4. Start Flashtool
Next, go to the Web Flash Tool website.
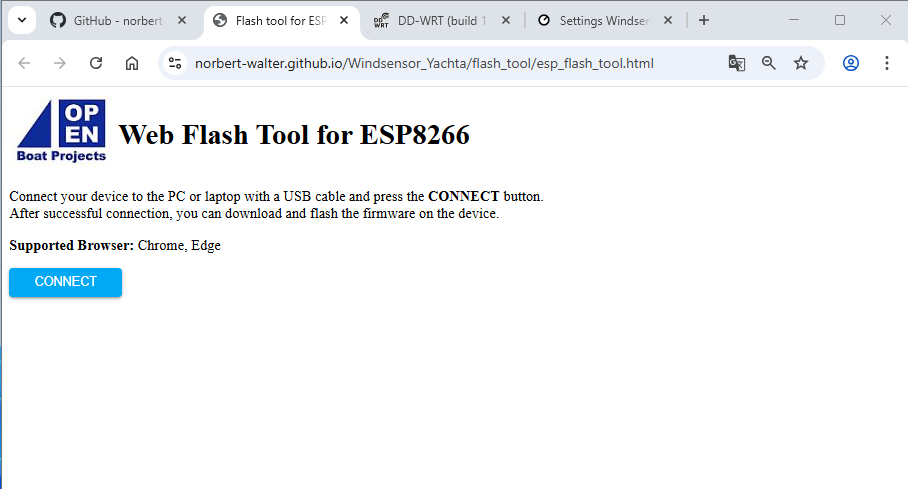
Fig.: Home Web Flashtool
Then press Connect and select the appropriate serial port. Depending on the operating system you’re using, the ports are labeled differently.
Windows: USB JTAG/serial debug unit COMx
Linux: /dev/ttyACMx
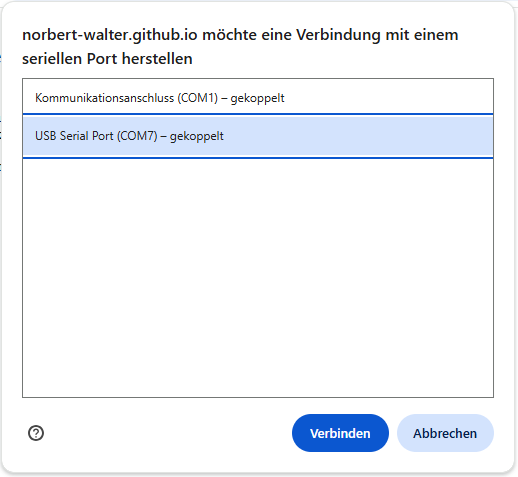
Fig.: Selecting the interface
Note
Please note that other serial ports may still be in use in the system. Select the port that appears after connecting the Yachta PCB to the USB port. Do not use existing ports; they are already in use for another device. If the Wondows 11 operating system does not recognize the programming adapter, you must download the driver for the FTDI232 from the manufacturer’s website. The driver is already installed on Linux operating systems.
5. Transmit Firmware
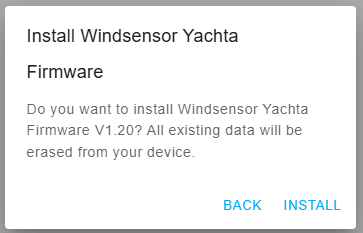
Fig.: Start flashing process
Start the installation process by selecting “INSTALL XXX FIRMWARE.” A message will appear after the transfer is successful.
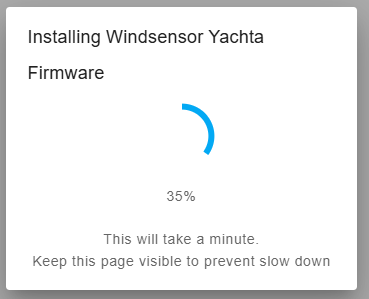
Fig.: Transferring the firmware
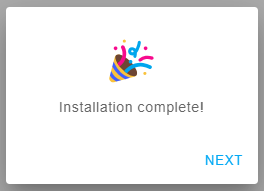
Fig.: Installation complete
- 6. Starting Yachta PCB
Power off and then power on with the white button. The firmware starts. After a short time, the LED on the microcontroller board (U2) should light up.
7. Check PCB current with running firmware (current < 35 mA)
- 8. Automatic WiFi login in MyBoat
LED goes out after approx. 5 seconds (PCB has logged into the MyBoat WiFi network)
Acceptance
Connection with programming adapter okay
Flashing firmware okay (max. 3 flash cycles by flash problems)
Current < 35 mA
LED on after reboot (search for known WiFi networks)
LED off (connected to known WiFi network)